Thursday, August 31, 2023

Picture Of Cheeseburger Bread.


                                                                 Looks yummy, but I think I might go with a little more hamburger, for my taste anyway.  As the saying can go to each his own. Nice to have choices sometimes. :P.

Cheeseburger Bread recipe.


                                                                 I thought with the end of Summer, and the celebrations for the weekend. That this might be a recipe to be done ahead of time. Have it for an appetizer, part of your buffet or even a picnic.  Happy Thursday everyone. :D.

Wednesday, August 30, 2023

Picture Backing For Table. Picture Showing On The Folds.

                                                                  Now you have a choice to decide whether you choose to hang a picture on a wall or setting your picture on the table.  Hope this is helpful whether you try the picture below, or some other idea of your own.  
 

Picture Backing To Be Attached To The Back Of The Picture Frame, Pattern.


                                                   This pattern is made for resting your picture on a side table etc.  I happened to be looking through some of my patterns and low and behold I came across this pattern just at the right time. It is nice to have a choice especially if you have no more room on your walls to display. If you use this pattern remember to press on the picture so you can see the instructions for it. Black line you cut on, being careful not to cut out any of the green lines.  For this pattern you only need cardboard, scissors, pen, markers and possibly glue with it. Fold on green lines." Remember, if you use this pattern and you have no backing on it because you wanted more light to go through, you cannot use this pattern because it would show through.  Sometimes I lean my pictures on a windowsill and then I can still use the velum showing through without a backing.  You can use double sticky to attach this pattern on the back of your picture. I sometimes use glue along with the double sticky'' Place the double sticky to go just on the middle strip, from top to bottom."  Happy Wednesday, everyone! =.> 

Tuesday, August 29, 2023

A Barn Picture. - Instructions how to make.


                                                    Here is a barn picture I made. However, you can draw or choose whatever you want for a scene for this project. The items needed are, A clear plastic frame, alcohol inks or, permanent markers. A sturdy cardboard can be placed in back of the picture, if you are not looking for the see through look.  Or, no cardboard to bring the light through for a different color affect. Two pieces of clear velum, ribbon, scissors, a pen, buttons and double sticky tape.  First, draw or find a picture you might be interested in using. Place that drawing on the table and place your other velum piece over the picture. Tape lightly so it doesn't move around. For the next step is to trace just the animal, duck, green part of tree and barn. You can now carefully undo the tape of your work. I outlined my cow etc. then used my markers to color them. I cut around the cow etc. and used my double sticky tape to press on the back of the items which was the cow, barn, green part of the tree. duck. I cut them out and put them aside. Took my whole scene picture and colored the grasses, hill, tree driveway barn and duck. Then, placed the whole scenic picture in the clear plastic frame. I now can peal the back off of my cow and stick this on the outside of the frame on top of the other cow.  After I finished sticking those items on I decided where I wanted my buttons to go. I placed double sticky tape on the the back of the buttons and placed a tiny bit on the frame where the button was going and pealed them both and stuck them in place. I did the same with the ribbon you see in the picture and placed this on the outside as well.  The next thing I looked at the picture as a whole and decided what or if anything else I might want to do. I chose to put wiggly eyes for the cow and the duck. Then, had some sequin like apple shapes and used them for the tree. I can only imagine if you try this what you might come up with.  The picture is nice and light and coming up with a backing is easy as one, two three. Whatever you decide to use a loop or, a light sticky back plastic hook. Something from the hardware store that you don't need to nail but will just stick on the wall. Home depot. The choice is yours.  I hope this inspires you to try your hand at this or something other. Have a wonderful rest of the week.  =) 

Friday, August 25, 2023

Bumble Bee Circle Game.

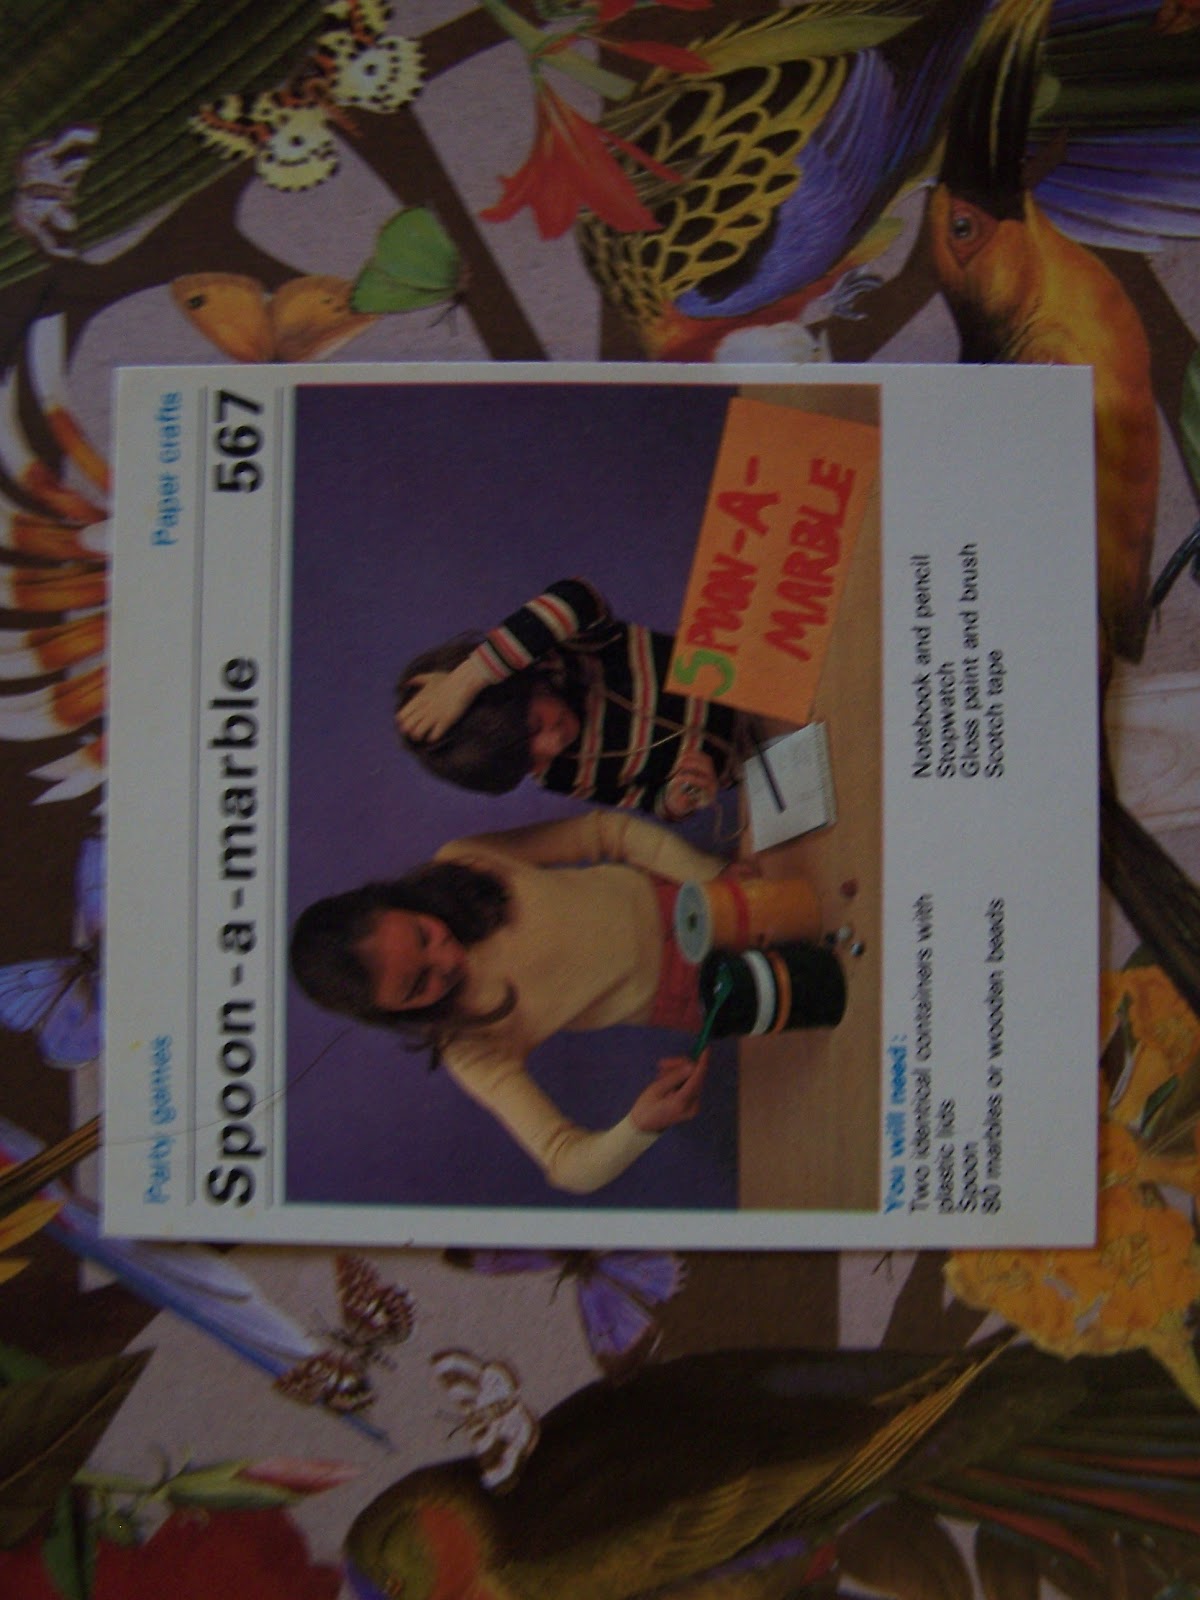
    Hello, I am so sorry, I accidently erased this game.  I will try and make this shorter for time purposes.  Children form a circle. Choose one child to go in the center of the circle.  That child holds the Bee wand.  Everyone chants this saying.  Bee, bee, bumble bee.  Stung a man upon his knee.  Stung a pig upon his snout. The bee is wondering all about.   The child in the middle walks around the circle holding the bee wand until he or she hear the last word which is ABOUT.  The child in the middle stops at the closest person they are near. Then they change places. That person hands the bee wand over to the new person trades places and starts the chant again.  The winner is the child who did not get stung. If children are a good sport and is happy for the winner, I hand out a sticker for them. I usually would have trinkets for the winning child to choose from.  Can make booklets for each child if it is done for a classroom and put stickers in their own book. I would put My Sticker Book on the front of each child's book and the name of the game they played that day, next to their sticker. With the words good sport. They can save the books in their cubby for another game or activity.  If it is for a birthday celebration game then I would hand them the sticker for them to decide whether they want it or just bring it home with them.  This game is fun for the whole family, classroom, celebrations, scouts. You can also mix age groups such as 8 or 10 yr old mixing with 5 and six years of age. At school we had 5th graders doing special things with the first graders. Like a buddy system.  Both ages enjoyed this system. This was always supervised of course. It made for a special interaction in a positive setting.   Hope you get to try this game. Have a nice weekend. 

Bumble Bee Wand. - For The Bee Circle Game.


                                                      Here are the wings and the head to make the bee. You can make it as simple as copying the bee on yellow paper. Or, Creative as using sequins felt, mesh for the wings or a mix. If using any kind of paper, you most likely will need clear contact paper over it to keep its ware.  Would love for you to share. :).

Bumble Bee Wand. - For The Bee Circle Game. Second Part.

                                                Here is part of the bee pattern that you are welcome to use along with playing the game.  This also can be used as a base for a craft project.  When you are finished decorating or coloring this, you just need to glue a tongue depressor on the back of the bee and you are good to go.  Happy Friday Everyone,   Try not to get stung. =p.
 

Wednesday, August 23, 2023

Picture Dominoes Rules For The Game And other Suggestions.


                                                                            Directions.  This is also good for English as a second language understanding. For added comprehension.    

Picture School Dominoes Game- Card Two.


                                                                    This is card two, of the set in this dominoes game.  I outlined in black marker so you can see how they should be cut out. You can do this on all of them if you feel the need.  Each block should be a rectangle shape, with two pictures on each Domino. Hope this helps.  Lamination also would help in keeping them sturdier.  I would use also oak tag for a firmer ware. 

Picture School Dominoes.-Card One.

-
                                                    Picture Card Dominoes. Is a clear description in simple word form, and colorful pictures that sets the stage in a fun way about rules.  Also, remembering to consider how you are choosing best whether to add one and erase another if you feel the need. I am sure there are many a pictures to take it's place if so desired.  Here's wishing you, your children, parents, teachers or classrooms etc. A good start to your newest school year to come.  :)
 

Tuesday, August 22, 2023

Memorization Exercise.


                                                              Here is a game for memorization. In my book everyone is a winner for trying, hands down.  No fretting, so here's sticker's for everyone who tries. Hope you are enjoying your day or night and whomever you are with. Even if you are with yourself alone.  =+P 

Friday, August 18, 2023

Munchable Math.


                                                    I hope the children will enjoy learning place values with this fun way of learning. I would suggest also to have a paper mat or an extra napkin opened up fully to place this snack on for obvious reasons. If you decide to save the bags for other munchie lessons, you can put a blank sticker label on the outside of the bag and have children write their names on it for further use. If you have a station box for each individual child, for instance a shoebox for each child then that could be a good choice to keep their year lesson items that when you instruct them to go to it then they would be in the habit of understanding their next steps and be organized in a clearer fashion.  Just a suggestion. You may already have your own insights that already works for you. If so that's great.  I know that today especially that children have food allergies to consider and even if you know it is just a reminder. With all the ways one has to order in their activities I trust you would understand me saying this, I hope. =)  Have a lovely day or night.  

Thursday, August 17, 2023

Place Value Game.


                                                                 Here is a learning game that is played with the roll of the dices.  Hope this makes a fun game for whatever child that just wants to have fun or for a learning experience. Have a wonderful day or night.

Wednesday, August 16, 2023

Spoon A Marble Game.


                                                            Here is what you need if you decide to make this game.  This can be played with children and adults. Have a great day or night. 

Spoon-A-Marble-Game.


                                                               You will need instructions.

Tuesday, August 15, 2023

A Camera Is Needed For Making This Game. Name Of Game Is" Picture This".


                                                                    For spatial awareness, object identification and visual discrimination.                                

Camera- How To Make The Game.


                                                                 Here are the directions in how to make this game for whatever game you feel is best for your children.  Have a good day. 

Sunday, August 13, 2023

Rag Rug Cake "Barrette Hair Piece Holder."


                                                  Here is the completion of the cake decorated. Yes, I decorated them with barrettes.  In my older picture of this project I piled on the barrettes. In this picture I did not.  First, remember this is a choice. If I am giving a gift to someone one of the things I think about is their age.  for a new born baby I piled them with the barrettes. That is what I chose to do.  If I were to sell them at a function I think for me, I would decide to put less on. Remember, both ways give this project a different look. For if you are giving this to a child that you see and you can see they have barrettes in their hair a lot, then an intention might be to put less on.  Why? you might say my reason would be because when they receive this gift the child might want to add on the one's they already have to the picture.  Which will invite them to create their own fashion of decorating the cake with old and new barrettes.  So they can make it their own. A gift not just for decoration, but a gift of creation as well. A gift that's being used and keeps giving. Only you know their capabilities or the one's in charge of the child that is getting the gift. So of course I am sure you already know this but I feel it best to express this anyhow. A bonus to the container I used is on the bottom of the plastic cake holder is a lid.  Can you guess what can be put inside the container?  Well the possibilities I am sure are many.  I thought to put the child or person you are making it for headbands inside. What better way to have the hairpieces organized . I make one headband for starters and then, they can put what they have to add on inside the cake. Some of the barrettes I bought or ordered on line. Some I made. It can make someone a nice compact gift actually, for many types of celebrations and even different ages.  At any rate I hope you have a peace holder type of day and night. =P 

Saturday, August 12, 2023

Rag Rug Multiple Cakes- A Clearer View Of The Scenes On The Handles.


                                                  I used a glue gun on attaching the wooden pieces on the inside of the handle parts. That means also, that I placed glue on the bottom edge front of each piece to attach it on the handle to create the scene. A few of the pieces I put glue on the back of the pieces as well.  Both give it a view of being nearer or further away.   Enjoy your weekend.

Friday, August 11, 2023

Rag Rug Two Color And Tinged Color Toned Cake.

                                                     
                                                   This cake as you can see I did two colors, one for the top and one for the side. I tinged the light pink color of the side of the cake with a deeper pink to hopefully have a different flair tinged to have a swirl affect to it.  I hope it made the effect to you that I was looking for.  I used alcohol ink marker to achieve this.  I did not want to use regular markers for I did not want to take a chance in the color running.  Maybe that might be an experiment for another day. Who knows it might even make it more interesting if it did.  I just know what I wanted for now.  Here's to wishing you swirls of wonderful ideas in your day or night. =+>.

Thursday, August 10, 2023

Rag Rug Braided Cake Top.


                                                  Here is a braided top of the cake.  I just braided a long three strands and used a glue gun to keep this braided cake top secure. I believe you can use the glue every two inches, to secure it.  I have instructions on the directions on here in the beginnings of if you look back in the past pictures.  How I decided the length I took one strand and swirled it on the cake top until it was filled then, added about 14 inches more of the strands times three for the braid.  You should have three different strands, knot it and start to braid. Better to have more than find out after it was not enough.  I am estimating because I did this a while back.  If you have a better way, go for it. When you start braiding this you should think about taping it to secure it on account you will be trying a bit to unravel the three strands from one another. You have two hands and you don't want part of the braid to be flopping around while you are trying to have order to your braiding. Hope this helps in understanding this. If you have questions do not hesitate to ask about this?    May you be able to make it a creative day or night, if you so choose.  :)

Wednesday, August 9, 2023

Spiral Lollipop Cake Top-Made With Rag Rug.


                                                Here is a closer look of the top of this cake. I achieved this look by just making the three strand braid. Two strands pink and one strand yellow. When it came down to swirling it on the top of the cake, I put the braid knot first in the middle, you know the strands that you see I tied the knot before making the braid. I then used a glue gun and glued the knot with the strands in place. I placed the braid sideways and swirled it around a bit, then added more glue with my glue gun and continued on till I finished to the end. So start in the middle and you end up finishing when it reaches the outer part of the cake.  Till it is all filled in at the top. You can probably place the glue on in about two inch intervals apart from each other. I think that should secure it enough.   Here is hoping your path takes you somewhere special today.

Tuesday, August 8, 2023

Individual Cake Decoration - To Show the Green Handle Decorated In This Step- Also, What Has Been Created For The Cake .


                                    On the handle of this cake I used green rag rug wrapped around the handle. I used double sticky for the beginning and pressed it on the end to start the wrap.  I then used a dab of glue from a glue gun. Started to wrap it, and when the wrapping was finished I again put a little double sticky and a dab of glue for the attachment to stay together.  I had these decorative small wooden pieces and I glued a scene on the handle.   So the green was for the grass look, and the wooden pieces was the scene.  For the top of the cake I braided and positioned it differently to give it a different look from being a braided look.  As you can see for the top I also used two colors for this.   I hope you have an inspirational day or night.    (:^) 

Monday, August 7, 2023

Multiple Decorative Cakes- Not Edible- For Decoration.


                                          Here are some of the cakes I created. I will be showing you different parts of them this week.  Here you can mainly see the tops of them.  Hope you are all enjoying the beginning of your week.

Saturday, August 5, 2023

A Colorful Cake. - Edible

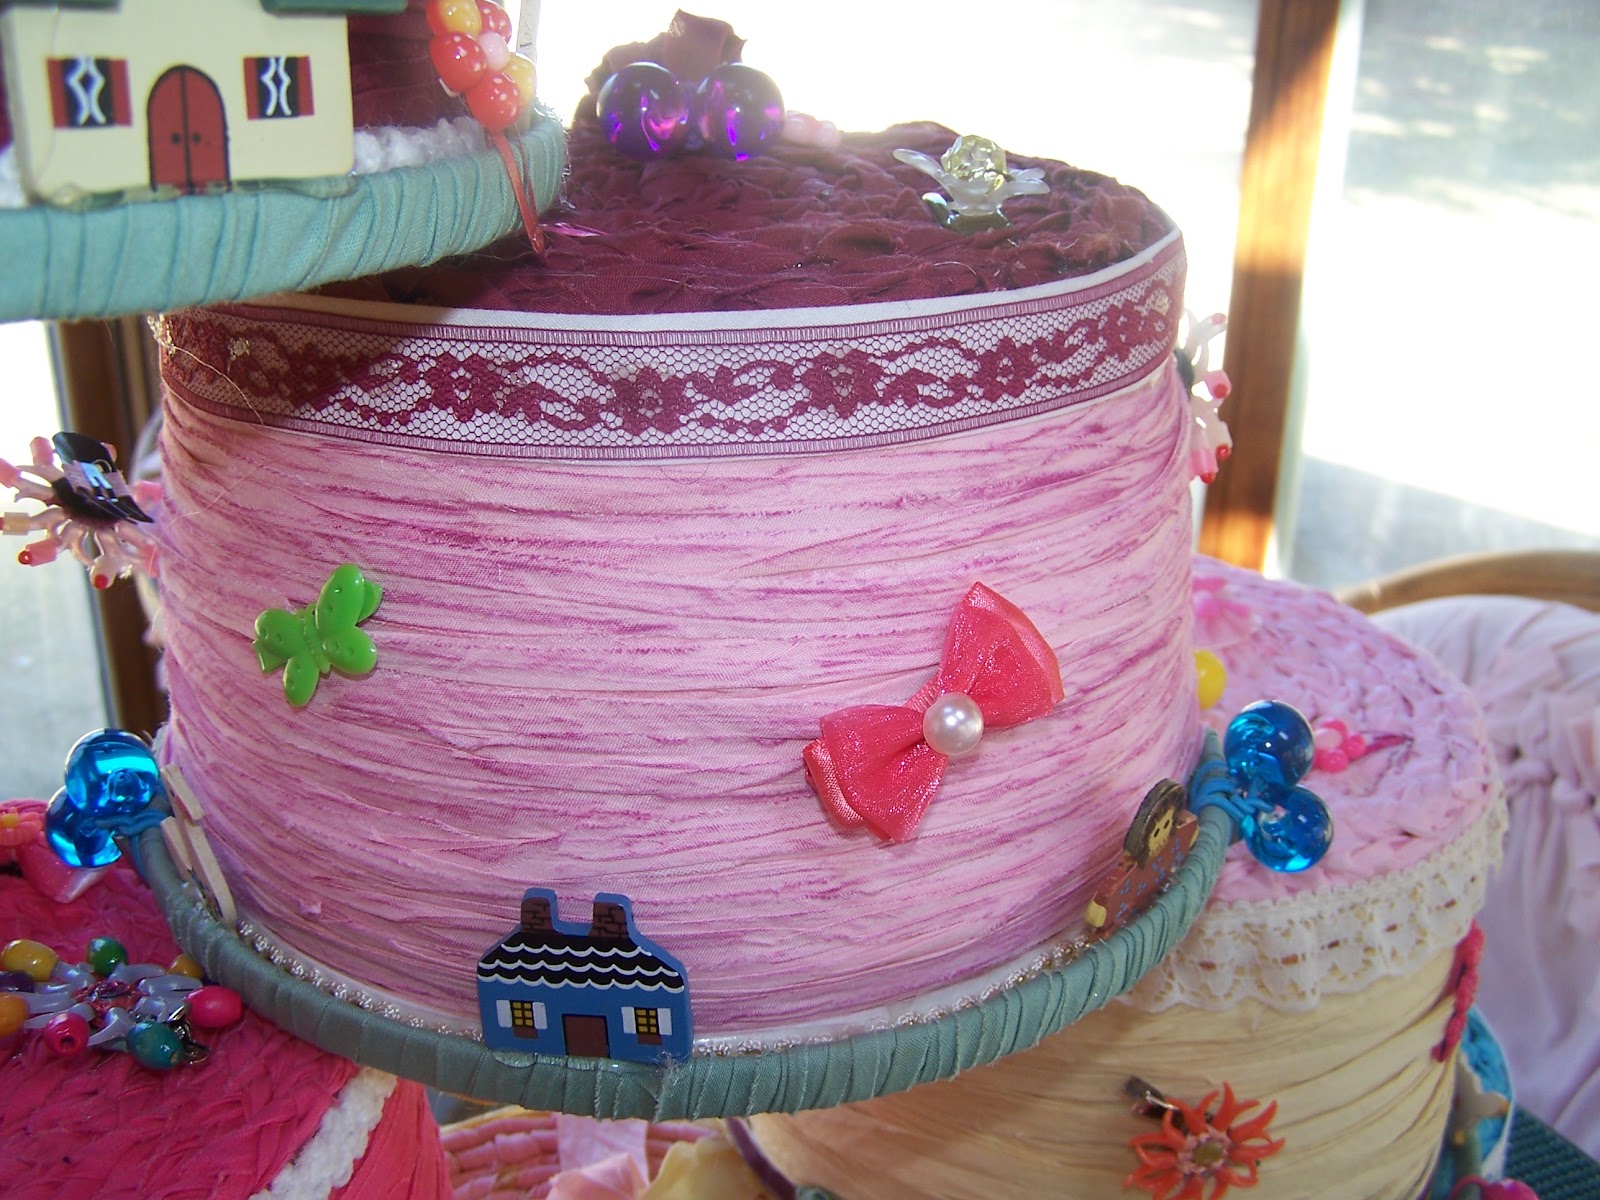
         This was one of the times my Mom and I shared in creating color with baking.  You might already know this one, but I will share it for memories sake if so.  Children enjoy seeing the colors mixed in one piece of cake when it is cut and served to them. I know my brothers and sisters of mine and myself so enjoyed.   The only ingredients needed are a white box cake mix, follow what else on the box to mix together.  Food coloring ,and regular size bowls to put an even amount of the mixed batter in each bowl when all of the batter is placed in each bowl.  Put one bowl of the batter aside to keep the white color. Now take a spoon for each bowl then have fun mixing in one color of each for the bowls you have in front of you.  After each one is mixed, Take a ladle or tablespoon and one at a time ladle or spoon one color in different areas and move on to the next color. Fill in the spaces. When the spaces are filled and you have more left  of the batter then put a spoonful on top of the batter in the cake pan till it is all gone. Now take a butter knife and from one end of the corner to the other diagonally swirl the knife through to you reach the other corner. Then take another corner that is left and swirl it once also.  So you in reality should only swirl it with the knife twice.  Remember if you swirl it too much it will become like a grayish color. Then we miss the reason what we expected to see in the first place.   Now make a white frosting with confectioners sugar and two tablespoons of milk and choose just one color for the frosting. You can leave it white or choose another color of your choice from the food coloring.                                                                           

        I so enjoyed doing this with my brothers and sisters even if we fought over who was going to get to have and taste from the bowl or beater.   The Birthday Child got to have first dibs.

        This recipe would work best with at least two boxes of white cake mix. In a 13''by 9'' pan.  For the time etc. look at the back of the box and how your oven temp. works for you.                                                       

        Any questions do not hesitate to ask.    Enjoy your weekend.                      

Friday, August 4, 2023

A Rainbow Of Color Art- Make it your own.


        Make a copy of how many are possibly going to do this. There are many ways you could create this Rainbow Of Colors. One, you could start with colored  tissue paper in squares the size of about 3 inches. Then with a pencil head twist one colored square tissue paper around the top of the eraser part of the pencil still holding with your fingers, have ready some glue in a cup and dip the flat part of the tissue paper in the glue and press it on the part of the rainbow and slowly lift the pencil off. Repeat until it is all filled in.  I would probably color the paint cans though. Another way of filling in with color is to use glue and decorate the rainbow with colored sand. Also, dried beans you could glue on, let it dry and paint over the beans. Giving it color. These are just some suggestions, I am sure you could have some of your own ideas to choose from as well. Have a creative day or night. Wherever you are coming from. I hope it leaves you refreshed.

Thursday, August 3, 2023

Theme, Colors- Painting Fun Song.

                                                             Have a coloring pretty wishes for your day or your night.
 

Wednesday, August 2, 2023

Color Theme Song- Pretty Balloons Sung To, Twinkle, Twinkle Little Star.


                                                  Here's wishing you, your day or night is light and breezy.  

Tuesday, August 1, 2023

Rainbow Colors- Song


                                                           A Rainbow Of Colors. Here's wishing you a colorful and a rainbow of

                                                       a day or night.