These abstract paint coaters are made of sturdy cardboard, using a circle pattern to trace on items.
The materials I used were:
- Two white contact papers,
- Sheets of clear plastic,
- Acrylic paint in three different colors
- A pointed stick to use after you blob all color paints on the contact papers
- Two pieces of contact paper.
- double sticky tape (or glue if sticky tape is too expensive/unavailable in your area)
- Utensils to add extra design details/textures (forks/pencils/etc)
- Felt for the backing
- A circular stencil the size of your coaster for tracing.
One contact paper is used to blob the paint on where you want. Another contact paper is placed upside down and pressed easily against the first piece, which helps them be similar in design.
Once pressed, spread apart the two pieces of contact paper and you should have the design on both sheets of paper. You then can take a pointed stick and make lines wherever you see fit to add more details to your design.
There are many tools you can use to add to your paint for more and different designs. The choices are yours. Using forks, pencils, potato mashers (etc. You get the picture I hope l.o.l.) Once done adding your final details, let dry.
Next, trace the circle pattern with a pen on your clear plastic and cut the circles out carefully. Place aside. After the paint is dried on your white contact paper, you can take the circle pattern and trace the circles on the backside of each sheet of the contact paper. Once that is done, cut the circles out carefully.
The flower stickers that you see on each coaster are used to attach the clear plastic circle to the painted circle. Taking a smaller piece of clear double sticky contact paper a bit smaller than the sticker is used to attach the clear plastic to the sticker at the top. You can then attach it to the coaster with another piece of clear double plastic if needed.
Now grab your circle pattern cutout from earlier and some felt. Trace the circles on the felt to cut out and glue to the back of the coasters to protect whatever furniture you are placing them on. It makes a nice soft cushioning. While double sticky paper is more expensive and harder to find, ff you have enough you can use it to attach the felt. You can also use glue, but the double sticky is less messy but everyone might not have that option due to cost/accessibility. So if that is the case then just use glue.
The clear plastic is a new technique that I created to not be limited in what materials I can use when I am deciding what to make my coasters out of. Due to the clear plastic, you have more options to use materials underneath that would otherwise be less water-safe. Due to the clear plastic over it I can just wipe the top with a damp cloth (with a top to bottom motion) when I want to clean it. Then dry with the same motion. I would love if you decide to make this to see what you come up with. At any rate Thank you for dropping by. :)
Lifting up the clear plastic so you can see how it protects the paint underneath.
Here is an example of what the felt backing looks like also.
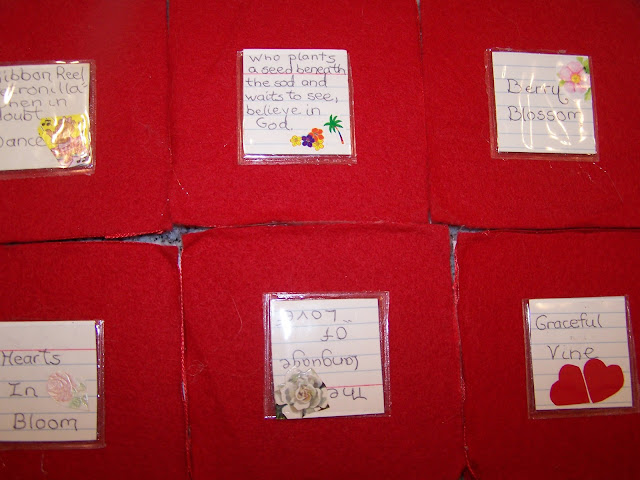
Here are the other coaster variations that I created!


.jpg)


