Sunday, July 30, 2023
Saturday, July 29, 2023
Friday, July 28, 2023
Thursday, July 27, 2023
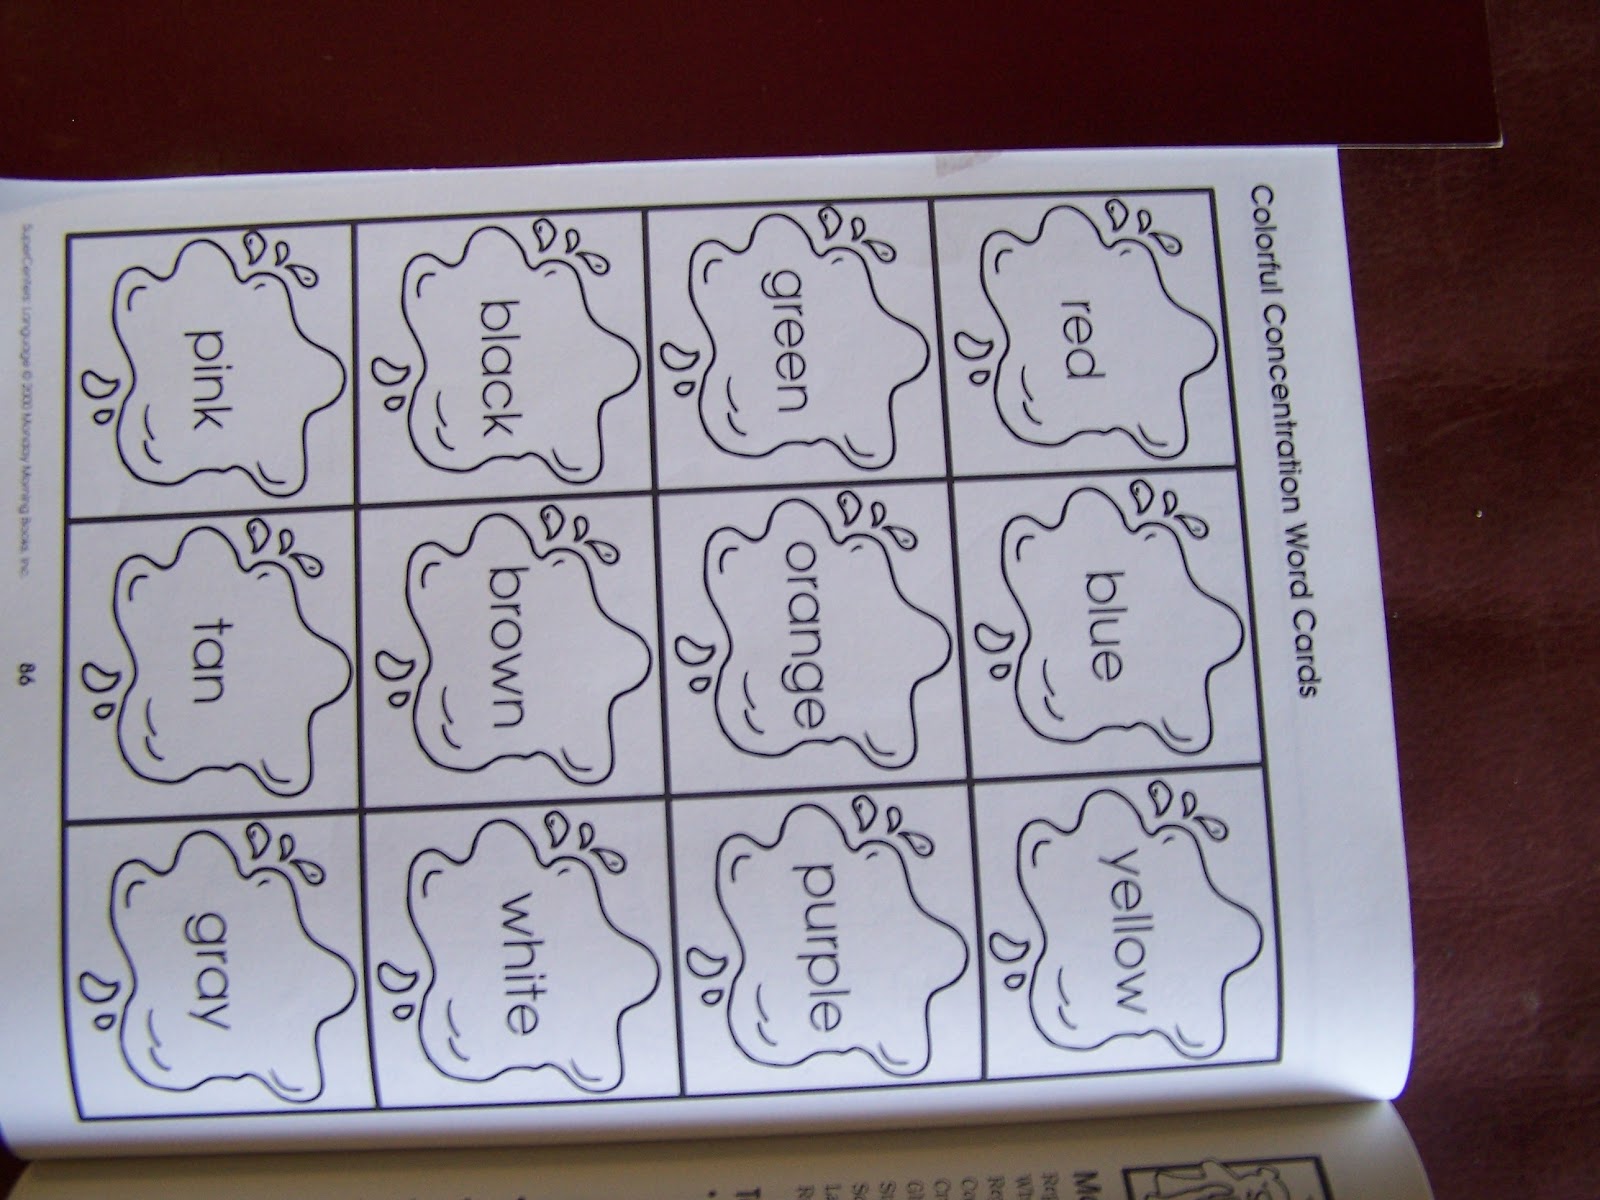
Color Jellybean Teaching and Independent lesson in a fun Way
If you are a teacher, in preschool or, special needs or ,homeschool the very young especially if you are a new teacher. Now probably might be the time you might start to think of how you would want to present learning skills in different ways. Some things might have to be done ahead of time. So I am going to show you how to make this fun learning colors that the children can take a turn each day independently to use this whether put on a bulletin board or hung on a wall or door. Enlarge the jar and also the jellybeans. The first one's you will keep in with the jar. Do not cut them out. Next , Trace two more sets of the jelly beans on white cardboard or white construction paper and on one set trace the color word with markers for the child that might need to see the color outlined in color. For the ones who are ready to try to be on the next step you will give them the ones that are outlined in just the black. Now contact both sides of the jelly beans. Then, cut them out. Also, contact both sides of your jar for the wall. Next take a tiny piece of velcro and put it above each color on the chart for the wall. Then, put the opposite tiny piece of velcro on the back of each cut out jelly bean. One side of the velcro will be rough that is the one that will go on the chart. The soft piece of velcro will go on the cut out jelly bean. You don't need to use the extra rough vecro that will be left so save it for something else. Place the outlined color ones in one envelope and do the same in another envelope for the other one. Then you can have a wax crayon for the child to print their name that you chose to work on it for the day. Then erase it when it is checked and choose the next person. Any questions if your not sure just ask. Have a good one. :P Also, you will be ready to show the class as a group in circle time how to use this. Thanks for checking in.
Wednesday, July 26, 2023
Bracelets Made From Belts- Put To New Use
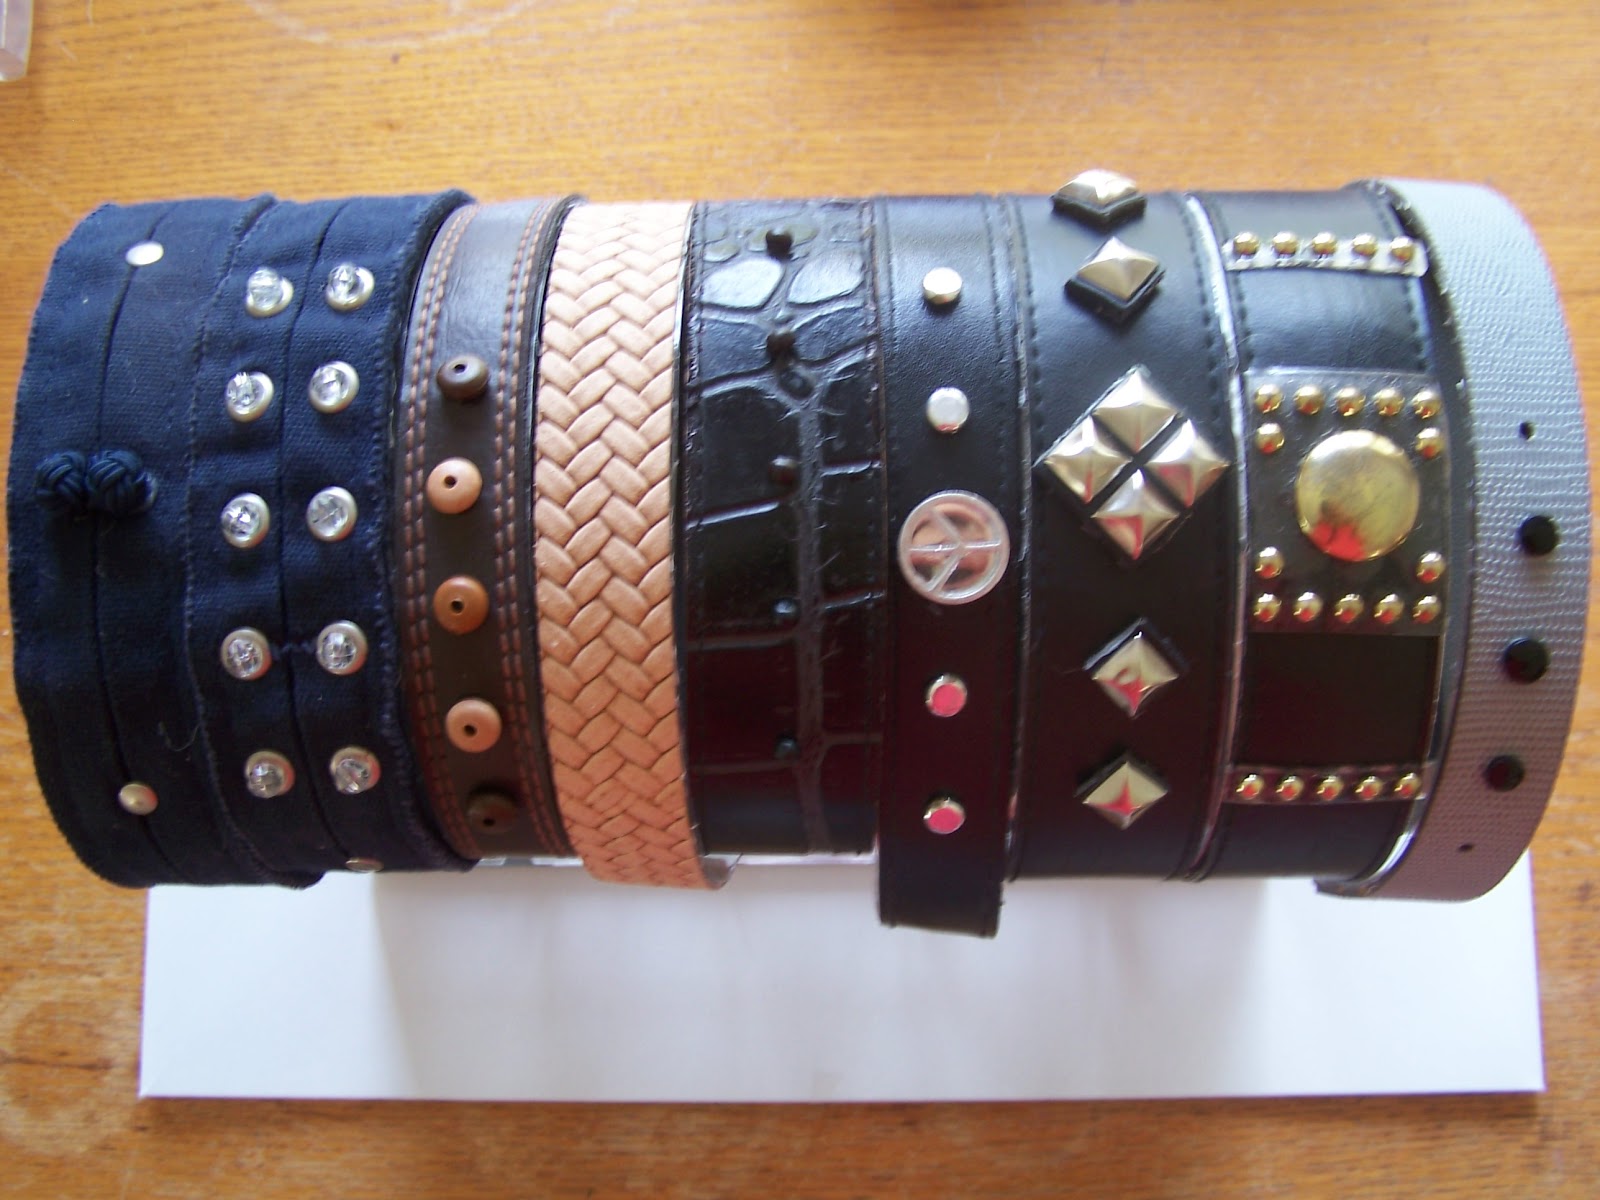
This is how I started out making the bracelets. I am making my bracelets for adults. I cut each one to measure 11 inches, keeping in mind even though they are for adults, we all do not have the same size wrist. I made it larger because of that reason. If I made it shorter, then I cannot go back and change it. If I made it larger I could always cut off more. "If you google looking for a bracelet measurement chart". this will help in getting you started. You will also need, jewelry glue, tiny cuts of double sticky contact paper or double sticky contact tape. You will need the glue and the double sticky for a better secured piece. You will need velcro for whoever you made this for it will fit to them. Place both pieces of velcro to one of the edges, on the inside of one edge and when you are placing it on the person you are fitting it to you can peel the other tape off and stick the other piece to the outside of your other opposite edge later. I put one at a time of my bracelet on a pringles can. This helped me know where I wanted to place the beads exactly on the bracelet. Let dry overnight. If it rolled I just put a rolled up piece of cloth on one side to make it stay not roll away from me. There are so many things you can decorate this to, to make it your own. Beads, charms, glass or plastic, and more. If you try this I would enjoy seeing what you created. Hope your day or night is going well. Now if you like your results don't forget to do a happy dance. = ).
Tuesday, July 25, 2023
Handmade Bracelets
These bracelets were mostly made out of a collection of old belts of mine. From when I was a teen till now. "Yikes" Also, my daughters belts she had no more use of. So I thought this was a good way of making something old into something new and of another that can be worn again. Now for the decorations on the bracelets, I used wooden beads, trinkets of old round flat batteries, plastic clear beads, black glass beads and brads. Now the how to attach them on the bracelets. Underneath each bead I attached some clear double sticky cut into very small pieces and stuck on the back of each bead and placed a tiny bit of the tape directly on the belt where the bead was going to be placed. I still used jewelry glue on it as well to make sure it had the strongest bond. Then let them dry. More on how they are attached to the wrist later. I hope this inspires you to look through things you might already have and give it a second use. I also used a Pringles can to place the bracelets on yes, even when I was decorating them, for this helped me to get a clear idea where I wanted to place each bead. Have an enjoyable day or night. :+).
Monday, July 24, 2023
Saturday, July 22, 2023
Point Setter Pattern -Christmas In July
Here are some different ideas you can do with this pattern after you copy it. If you are doing Christmas In July with a small group or large etc. You can create big bows with this for your celebration or whatever you are doing in your day. You can buy a stretchy hairband or a plain barrette. To attach it you would need to consider whether you are going to use glue or sticky tape, The sticky foam tape from C.V.S. works well. I have tried other's from the dollar store but it is not as strong as the one from C>V>S. If you have something that has worked for you stick with it if you are not feeling the change. You can place this decoration on a cap hat or you can make a flag if celebrating. If you are giving each child a choice, make sure in advance what you might want to do before and if giving choices allow them to know it is final so they have an understanding, because of supplies needed to get for the project. That is consideration on every side. Talking or explaining things through will help to have a better understanding. If you have plenty then you will know what you choose is best at the time. You are the ones who will know what your planning style that works best for you and your group etc. Lessons and learning come in many forms. This can also become a group wreath. The rest is your creations and what materials you want to use to create. I hope you have ideas to add to this of your own too, if you so choose. If not I hope this helps. Have a wonderful weekend. :)
Friday, July 21, 2023
Tissue paper tree =Breaking It Down
Make a copy. Cut tree outside+ inside. Glue the edge of one. Place tissue paper over it. Let dry. Cut around tissue paper Glue second one. Place over tissue paper tree" Put a string loop on it before attaching second tree if you want it to hang. " Decorate with sticker's, bells or, and, small decorative objects. Short Version For Making Tree
Christmas In July - Tissue Paper Ornament Or Decoration.
Here is a tree pattern and information on what to do. Start by cutting out the outside of the tree pattern. You can use zig zag scissors, if you choose or straight. Second, cut out the inside part of the tree carefully so to save it from wrinkling, if using colored paper. "Think about what materials you want to use to create the tree, such as, green colored paper, green material, or even making different colors for the trees itself. In paper form, felt, etc. Next, for the middle of the tree in between it you can use tissue paper, vellum, etc. Choose what size tree you want to use. Place one of the same size tree pieces after cutting, down in front of you. Put the other one aside while you place glue of your choice around the edges of the tree. Then, take a piece of tissue paper, or vellum and place it over the glue on the tree. Press it down. After it dries cut around the tissue paper or vellum, set it aside and then spread glue around your other tree and place on top of the first tree you made. Now you can decorate the tree how you choose. You can use stickers, puffed ones if you choose, colored bells small little wooden decorations, you get the picture, I hope, If not just ask. I hope you are having a wonderful start of your day or night. E>)
Thursday, July 20, 2023
Christmas In July - Tee Shirt Ribbon Wreath
If you are doing this project it does not necessarily have to be on a shirt. It's still a great idea for small groups, larger groups, or mother and child time etc. The wreath can be placed in a frame or even to make placemats to name a few. At any rate if you are doing Christmas In July, I think this one is simplified enough to work it. The Reindeer Holder is a little more to it. Depending on what you are using to keep it together. Having groups in assembly line format is another way, to do that project, for it keeps a form of unity to work on something that still can be considered individual, but formed in a group. Hope you are enjoying you Summer. :D
Wednesday, July 19, 2023
First Page Of Rudolf Treat Holder.- What's Needed For This Project.
I made this project for a classroom I worked in for a gift. I also made this for my child's classroom. My child and I had an assembly line going when it was time to fill them with goodies. I think it was special to us both. We made some extras and placed them to hang on the tree for Santa to fill with them with special surprises. Here's to you for making it a great day or night in whatever you are doing. :v
Second Part Of Rudolph Treat Holder- Christmas In July.
With this project it say's to use glue sticks. If you find at any part you or the children are having trouble keeping any part together please have on hand a glue gun of course, if young, supervision or choose not to allow this at all. The alternatives are double sticky paper or double sticky tape. For only you will know what is best. I hope this helps to keep this a special project at hand. =).
Tuesday, July 18, 2023
Toy Soldier Pattern To Make On A Stocking or Reinvent what you would want it to be . Christmas In July.
Here is the Toy Soldier Pattern. Use the color chart, or, decide on your own colors. When I worked at a camp oh so long ago, every Summer they would tie in Christmas In July to the program. So as a group we would plan together at what we were interested in making. You can use felt and design it the way you choose it to be. At the last day of the week each group would have a turn and get to appreciate what other's made from another group. We also would have a song ready to sing and add to this. It was a fun time and they could leave with smiles for maybe they too were having an upside kind of day. So color me an upside kind of week and still have something to smile about. My wish for whoever needs it today or tonight. =P
Color key For Toy Soldier Pattern For Stocking, Or, Make It Into Whatever you Choose. Christmas In July Anyone?
Color Key: Yesterday on the radio they had a break from music and the woman mentioned that this is around the time that kids who are on Summer Vacation might become bored. So if anyone is having an upside down kind of day, I hope this helps. :P 6 - 17
Saturday, July 15, 2023
Chocolate Almond Fondue With Fresh Fruit
Here is a quick sweet dip if you want something new to try. Hope everyone is enjoying their weekend. :) I don't know why it is faded in some areas, but if you press on the picture you can better understand the words.
Friday, July 14, 2023
Picture instructions for Dragonfly
With this Dragonfly you can make it as easy as paper to using popsicle sticks, styrofoam balls, wiggly eyes, beads and sturdy netting for wings. Hope everyone enjoys their weekend.
Thursday, July 13, 2023
My Birthday Cake. Color your favorite flavors.
Have your child etc. write their Birthday on the line, before the date of their Birthday. Have them color or present them with some decorative flowers along with coloring their cake. When they are finished, Ask if they are excited for their special day. This makes a good conversational time for you to ask them what their favorite flavor cake they would like, etc. It sets the stage for other questions you might have in mind for that day, however intimate. With also keeping in mind the choices they have to choose from so it does not get out of bounds for the parents or the one's in charge of course. It also sets the stage to share something special about when you were young that you might want to share. When I was younger and growing up, my mother asked me when it came to my Birthday, what kind of cake would I like her to make. This felt very loving to me because she made everything from the heart and made it from scratch. So being older and knowing the time and effort it took with my big family I know the time and effort that she was willing to think of me in this way. As parents I know we all have our special ways of showing and sharing with our children. To this day, with my Mom passed away, it still leaves me with sweet memories of days gone by, yes even now... So whatever you do with your child or children I bid you a sweet day or night .. =9.
Wednesday, July 12, 2023
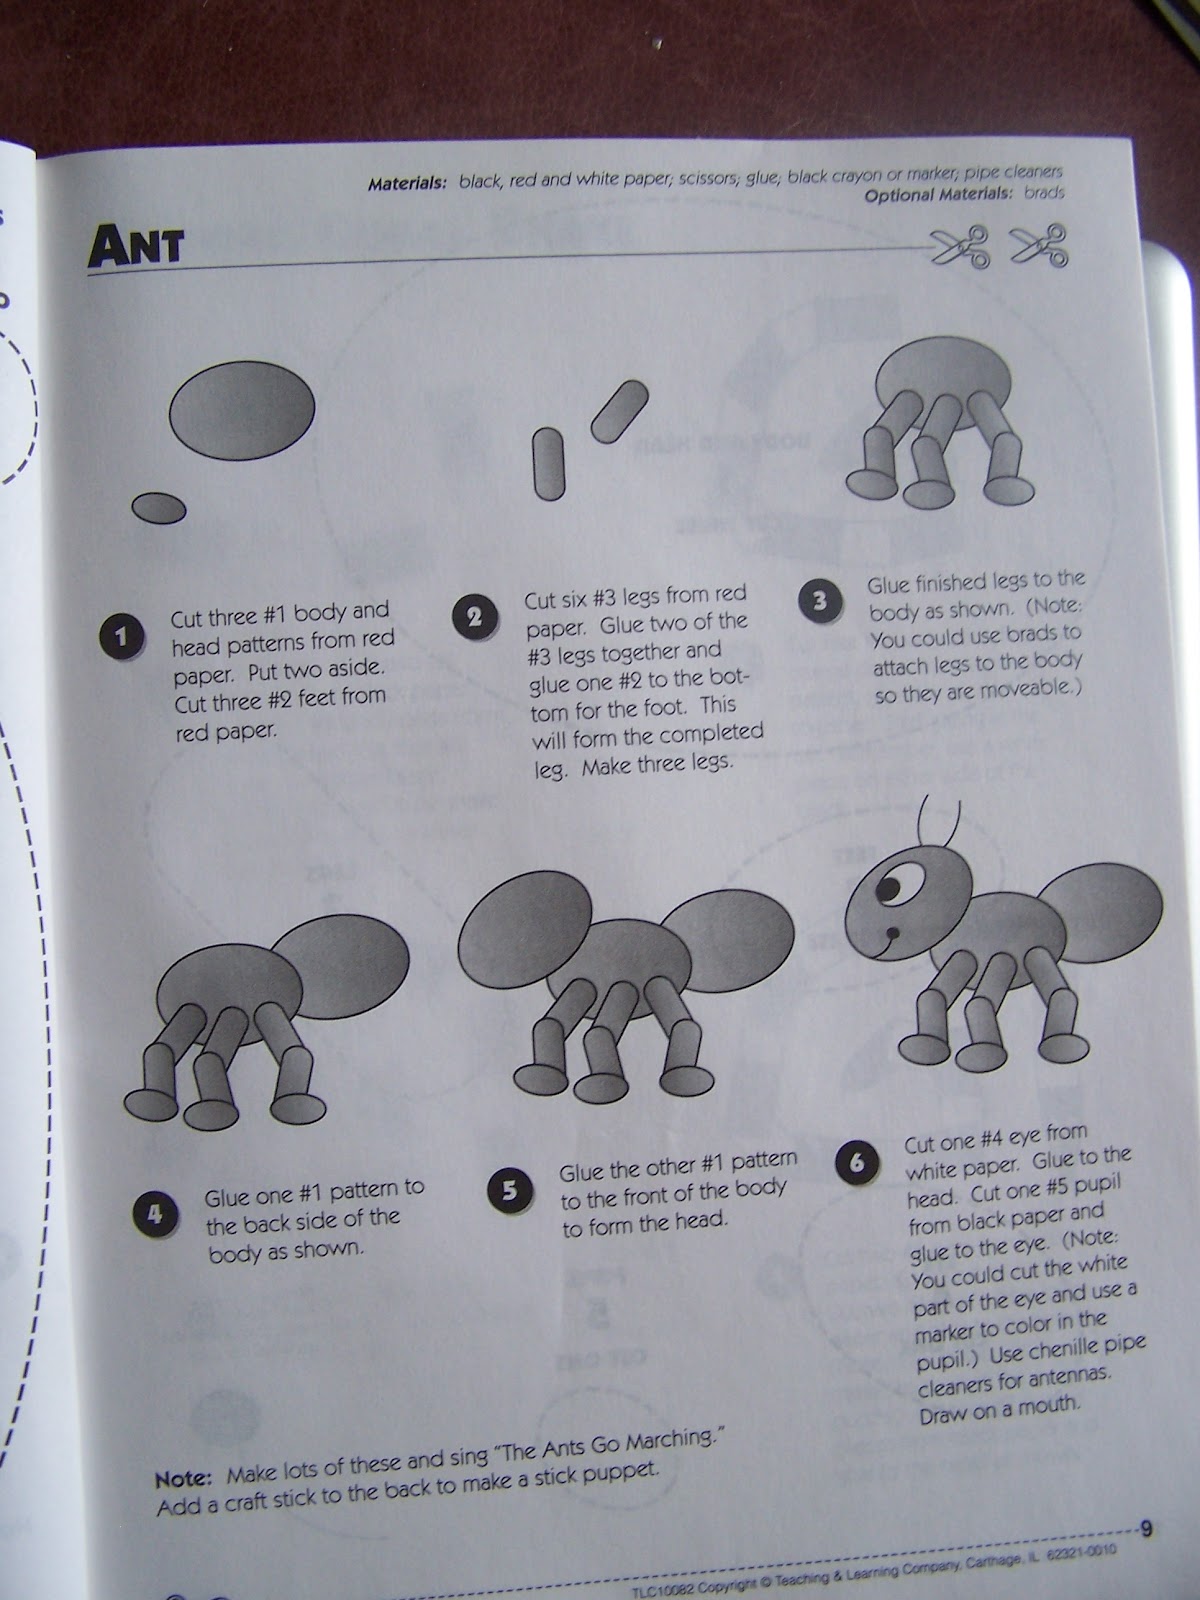
The Directions For Putting The Ant Together
This craft can be used independently or by verbal direction from another. I am sure if this is done in a group they would have fun marching together. If my children did not have friends over that day and wanted to do this project or others, Then, I would sing and march around with them around my counter island in my kitchen. It made them silly and giddy, If your children or others you are teaching do this I hope they have fun with it. Whether you are marching or not, you can still march to your own drum day or night, and have fun your own way, in whatever you are doing. : )
Cut And Past "Ant Creation" For Children To Put Together.I
I need your help putting me together. Will you then sing and maybe march to the song, The Ants Go Marching? That would make me soo happy. =).
Tuesday, July 11, 2023
Added Info For Newest Notepad
Hello, I just wanted to add with this recent notepad, in the picture you cannot see the clip. If you look at my acorn notepad you will see in the picture the clip that was used. I used the same kind of clip for the newest one. If you need to check it out the picture is with the year of 2016. Hope this helps. =)
Monday, July 10, 2023
Note Pad For Your Wall.
Here are a couple of notepads that I made. I don't know about anyone else but I still relate to them. I took two wooden blocks I had. They can be stained, painted or left in a natural state. You can put a mat or a shiny coating to protect it after. Sticky note paper for " reminders," I used adding machine paper that I wanted to use up. "That is the rolled paper". One clip to make for one, A wooden piece I used to stick the wooden house with the foam on the clip. I first attached the clip to the wooden piece with the sticky foam on the back of the clip. Peal paper off and stick to wood. This foam is sticky from C.V.S. works really well. I used two strips of leather and drilled holes on each end of leather and wood . I used screws with an electric screw driver to drill the nails in place, Also one cloth strip to put through the rolled paper and tied it in place. I had snaps so I glued one to the strip I tied and to the back of the wood so I can detach it to refill another roll when it runs out. I hung a pen on the strip that I used to tie the rolled note pad. If you decide to try this, I know it is a lot of information. If you have any questions about this project don't hesitate to ask. Have a noteworthy kind of day or night. =)
Sunday, July 9, 2023
Pop Goes The Bubbles- Sung to Pop Goes The Weasel.
Here is another bubble song for any bubbling adventure. Hope your day or night brings bubbly blessings. Happy Sunday! =+).
Saturday, July 8, 2023
Blowing Bubbles Song - Sung To Twinkle Twinkle Little Star
While some of the kids are finding things for their bubble blowing, the younger ones can learn this easy flowing bubbles song... Have a popping good day or night. =P
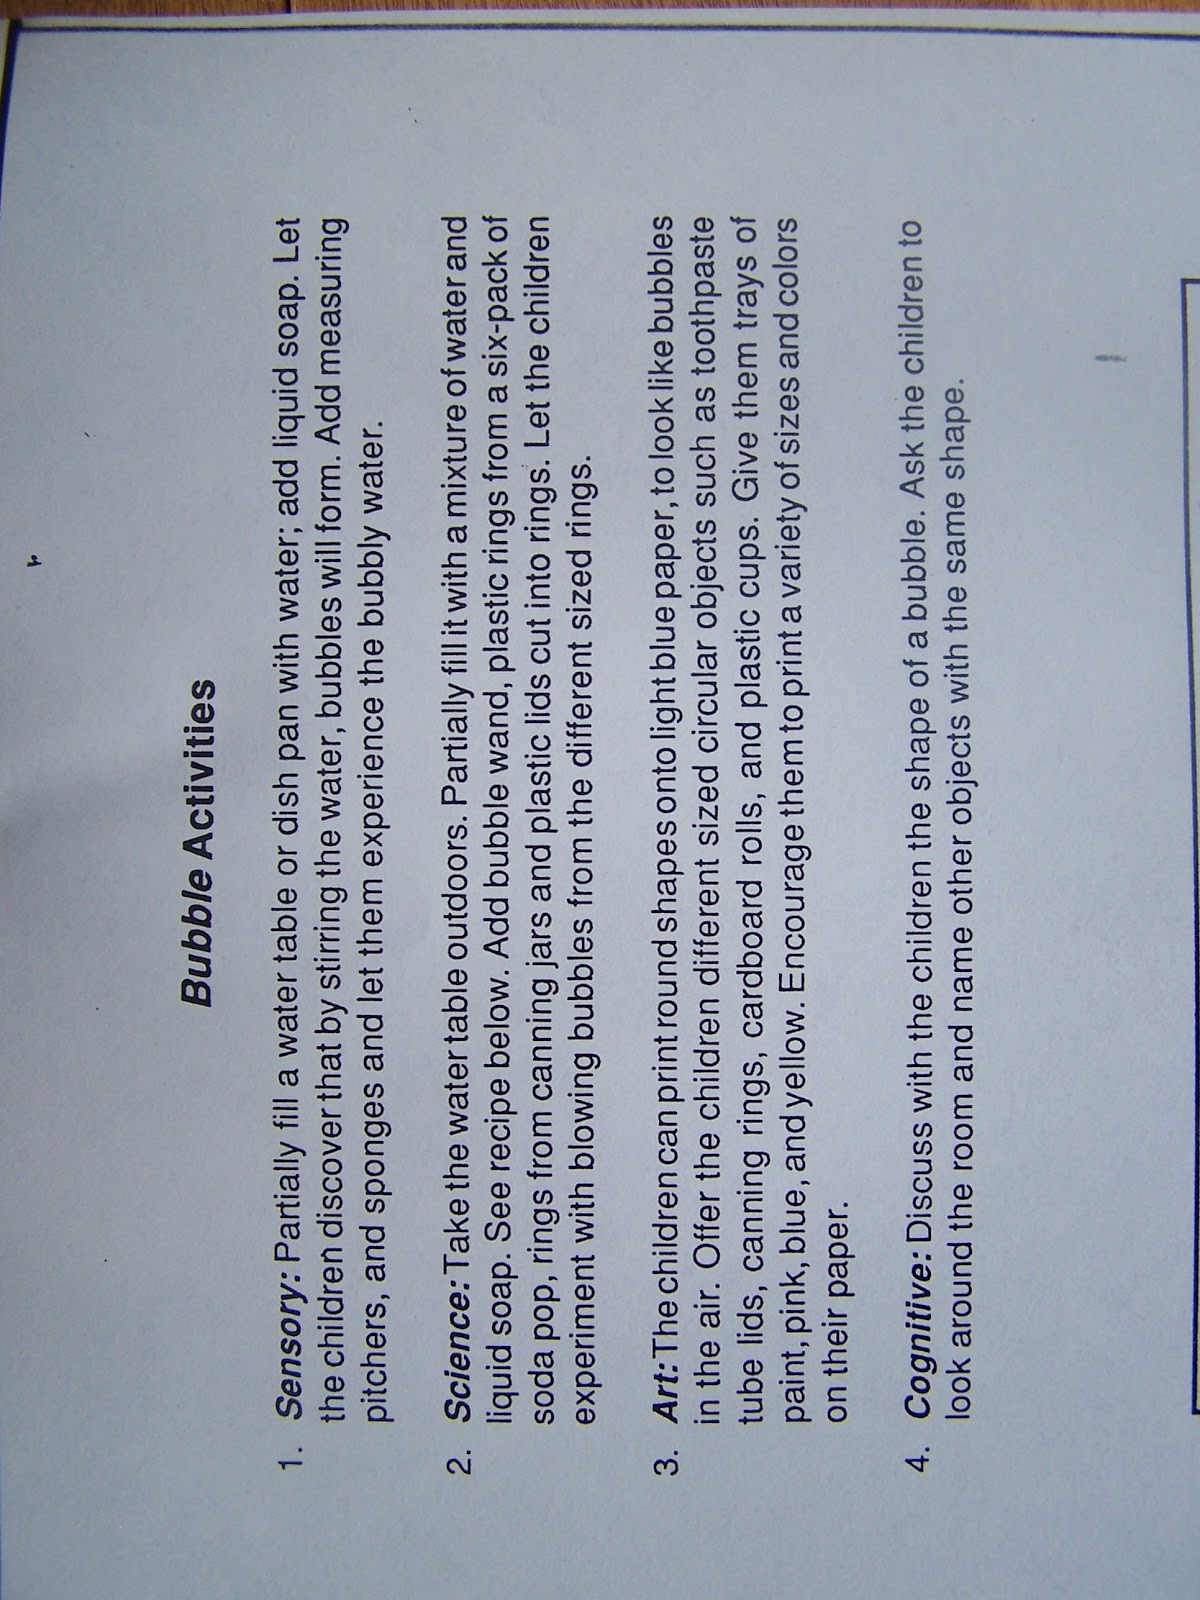
Blowing Bubbles Recipe
Having lulls in your Summer days. Kids usually enjoy being creative. They can make this mixture with not a lot of ingredients. :)
Thursday, July 6, 2023
Blank Pattern Of Picture Frame
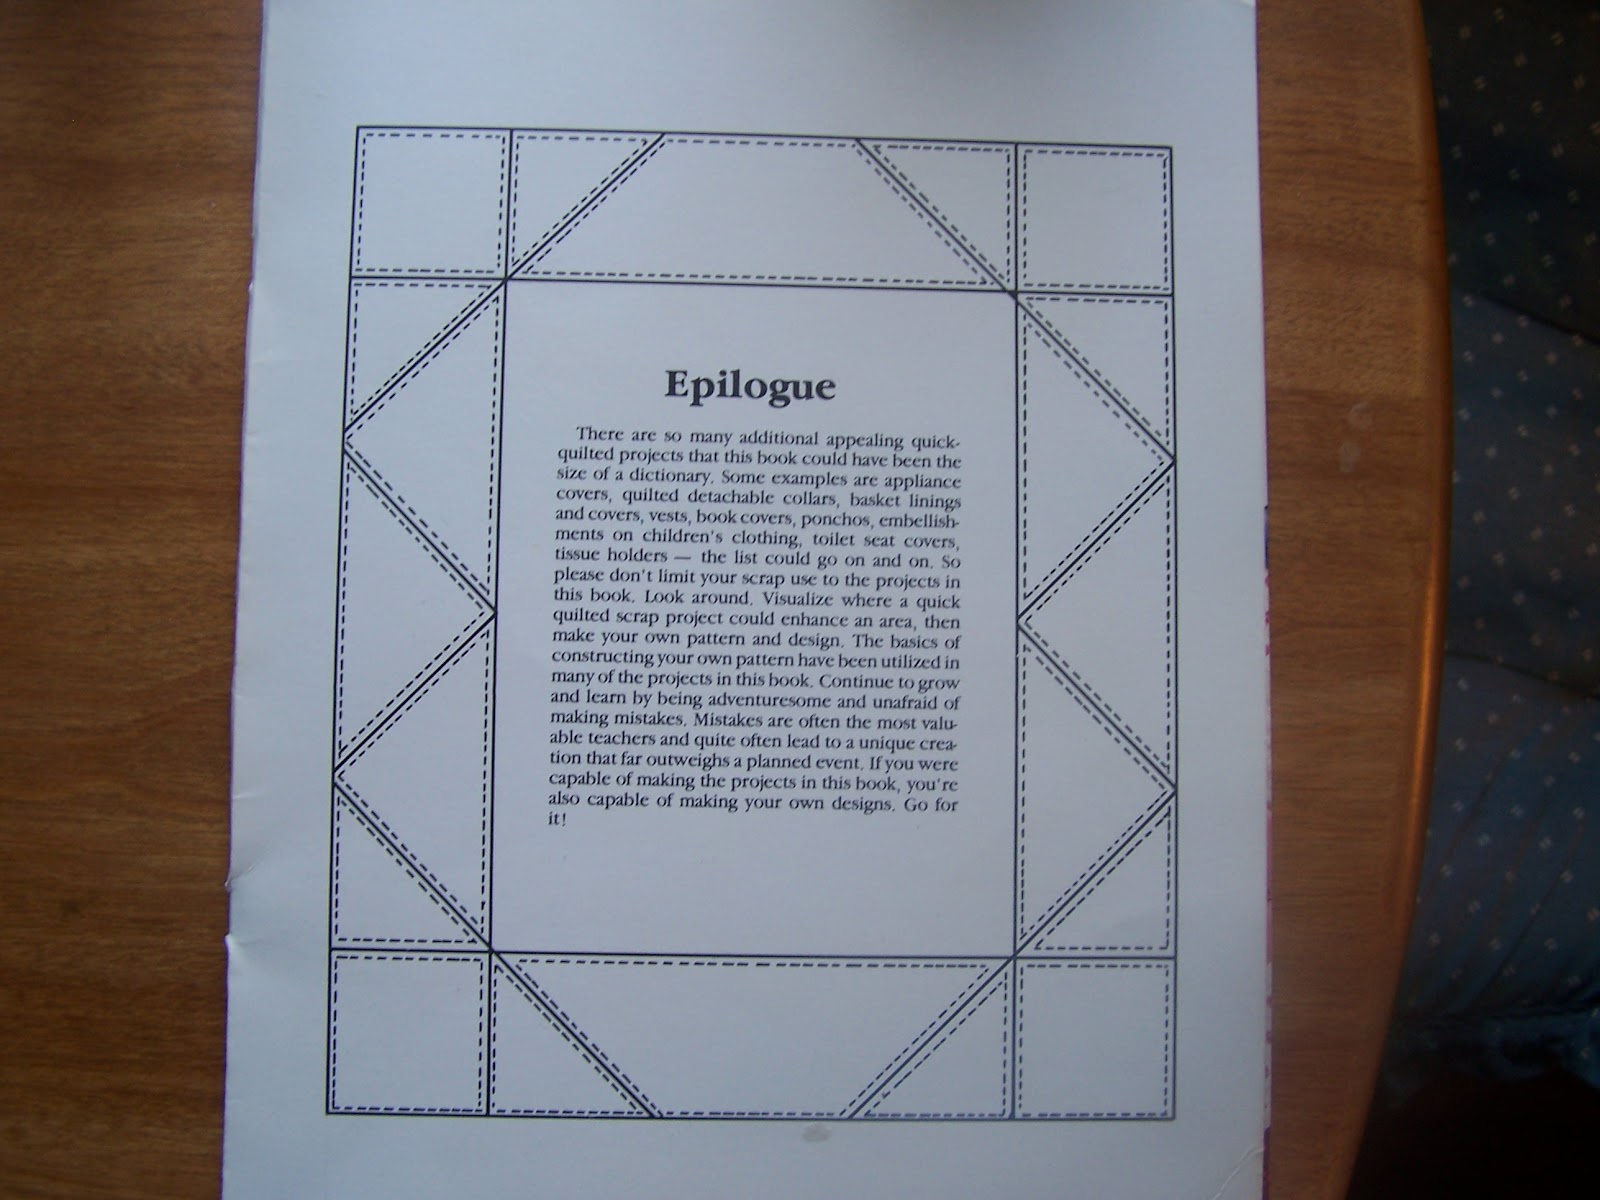
Here is the pattern if anyone would like to try a work with it. Another idea this could be used for is real stained glass work. Also, music and song. Your favorite or someone else's fave, and of course if someone is and likes to do quilting, they could make a quilting frame as well. I hope you have a favorable kind of day or night. If you give it a go at something I would love to see your work and what you worked with it.:). Thanks for checking in.
Wednesday, July 5, 2023
Picture Frame On Vellum
I just love using vellum in some of my projects. It's sturdier and a stronger substance than tracing paper. I happened to have a print of a stained glass frame in my little treasures so I thought this would be perfect for my vellum use. I first scotched taped my vellum on top of the stained glass print. So, the paper did not get away. I then used alcohol ink markers and outlined each shape with the color I chose for the shapes. I colored the inside of each, and walaa, finished with this part. I have not decided yet what I want to put inside for this project yet. Here are some ideas of what you might want to or if wondering about. Your child's picture. A poem, if you are good at drawing, You can trace a favorite picture. I might be using this for scrapbooking, possibly. I think being see through it would look nice on a window and look different in the light. You also could put this in a regular frame, for two frames in one look. This project can be for any age. Make it as simple or complex as you choose. Have a magnificent kind of day or night. :< )
Tuesday, July 4, 2023
Hush Little Firefly Sung To Hush Little Baby
Here is a song to relax as a family etc. Hope you spot firefly's tonight. Hope they light up your night. :)

