Monday, June 19, 2023

Plain Bag Decoration.

                                                                 Plain Bag Decoration
    A way of many you can decorate a plain bag.  I used a cloth heart doily that had the word Love on it to be the center of this bag.  It was for someone who was having a baby.  Also, you can see a flower pen in the middle of the heart that the Mom can take a picture of  her baby after the baby is born.  When or if she has to go back to work, she has a reminder of her little one as she is working.  Also, is a good conversation starter for a way to converse whoever might be wondering who's picture is on her pen. As I am sure you already know there are many ways to decorate a plain bag.  Just a reminder of your own inspiration you can bring to the surface.  :).  Have a great day or night, where you are entering into in your time zone.  The cloth doily could be used after, to put in a frame on the wall of the babies room. A gift that keeps giving.  :).

Sunday, June 18, 2023

Thread Holder Wall Hanging.

 Thread Holder Wall Hanger


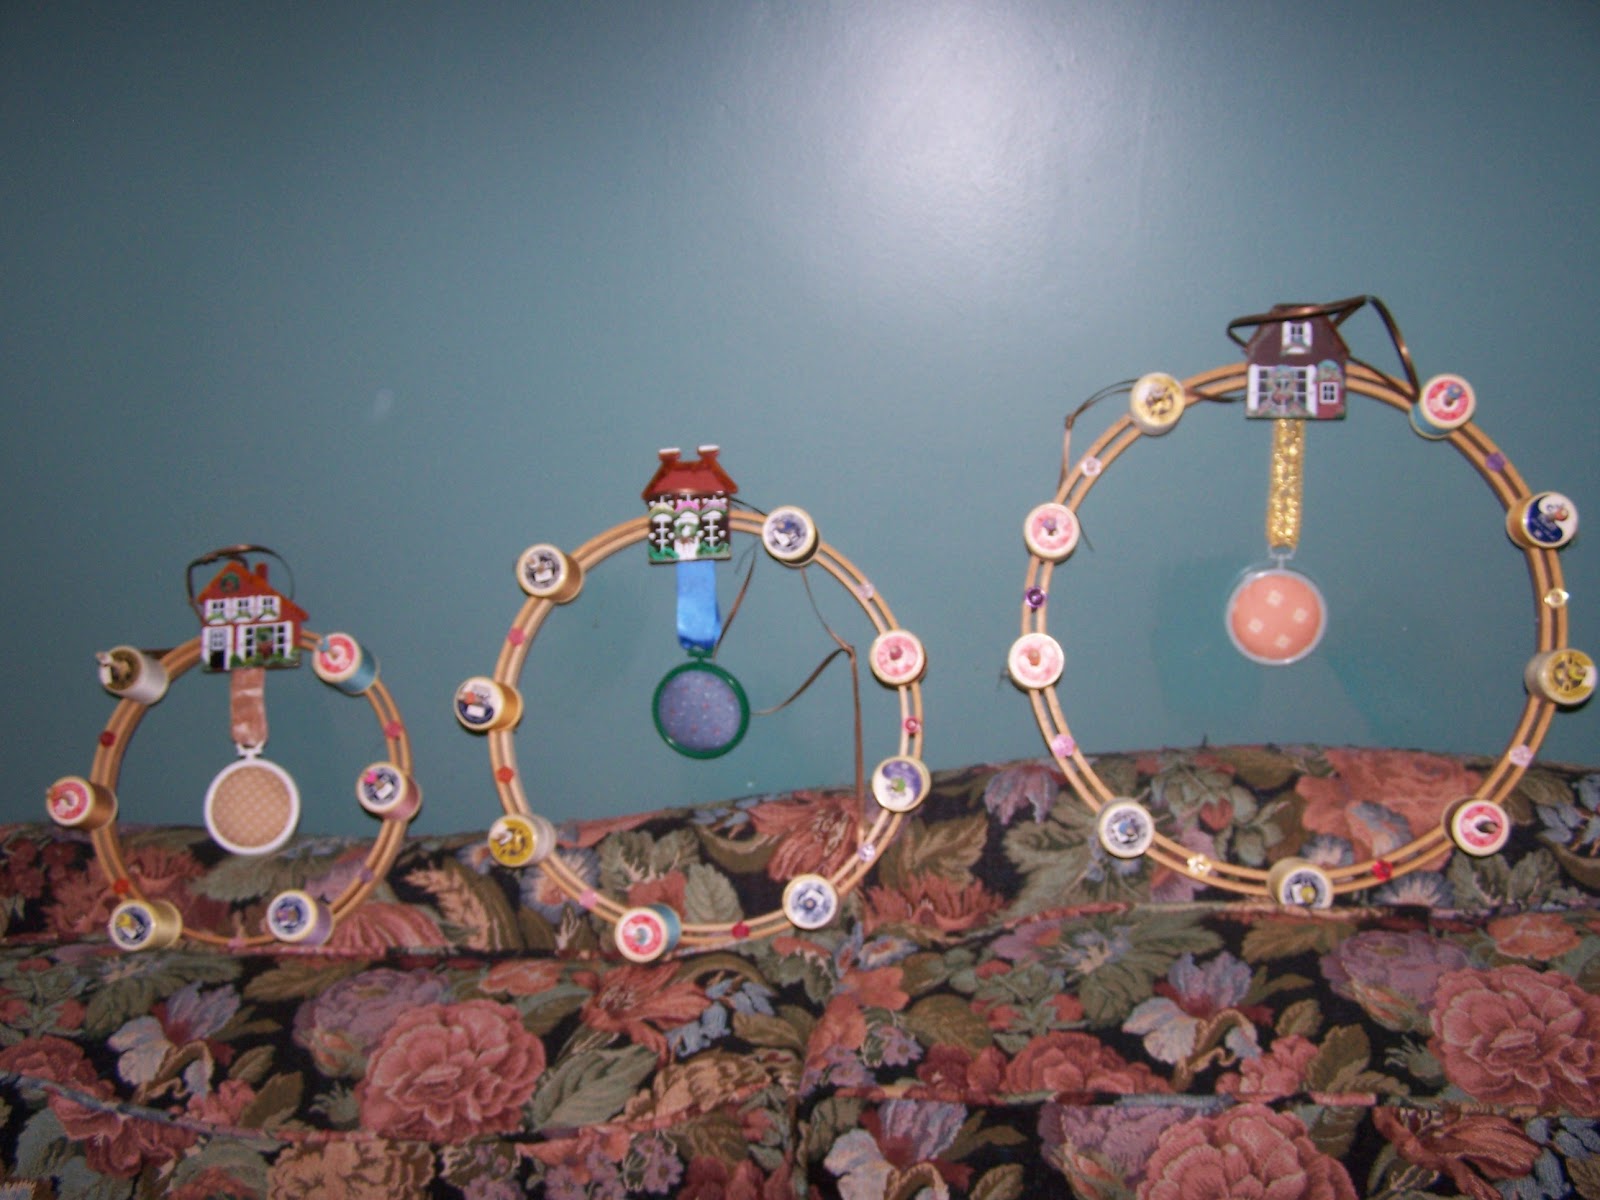
This idea makes a nice gift for someone just starting out in their first home or of course for someone who is a crafter or sews for easy access to a basic color. This is not my idea but I thought it made a nice gift.  One thing I did do to add on for it so the thread spools do not slip off of the stick is I had tiny colored elastics and twisted it around each stick. If it was a green thread then ,I twisted a green elastic around the same color to keep the spool in place. Especially if you are wrapping it up for a gift you would not want all the spools to come off and roll on the floor,while they are taking it out of the box. Another idea you could choose to do is put wooden knobs on each tip, or pretty knobs with a design or emblim on it.  I used a small picture frame , cotton batting and material for the pin cusion and glued a wooden house on the top to make it more homey.  Hope this inspires you for added ideas to a project you are thinking of doing.=).

Coasters Motifs from Quilts, Placing A Meaning On Back For Each.


 These are another set of coaster's I made as a gift as well. I took and drew motifs  that are made by quilter's and turned them into what you see here. On the backs of them each motif has a meaning, that can be used for how I wanted to represent the person it was for. Hope you like them.  Thanks for checking my blog out. :)

Sunday, June 4, 2023

Animal Coasters


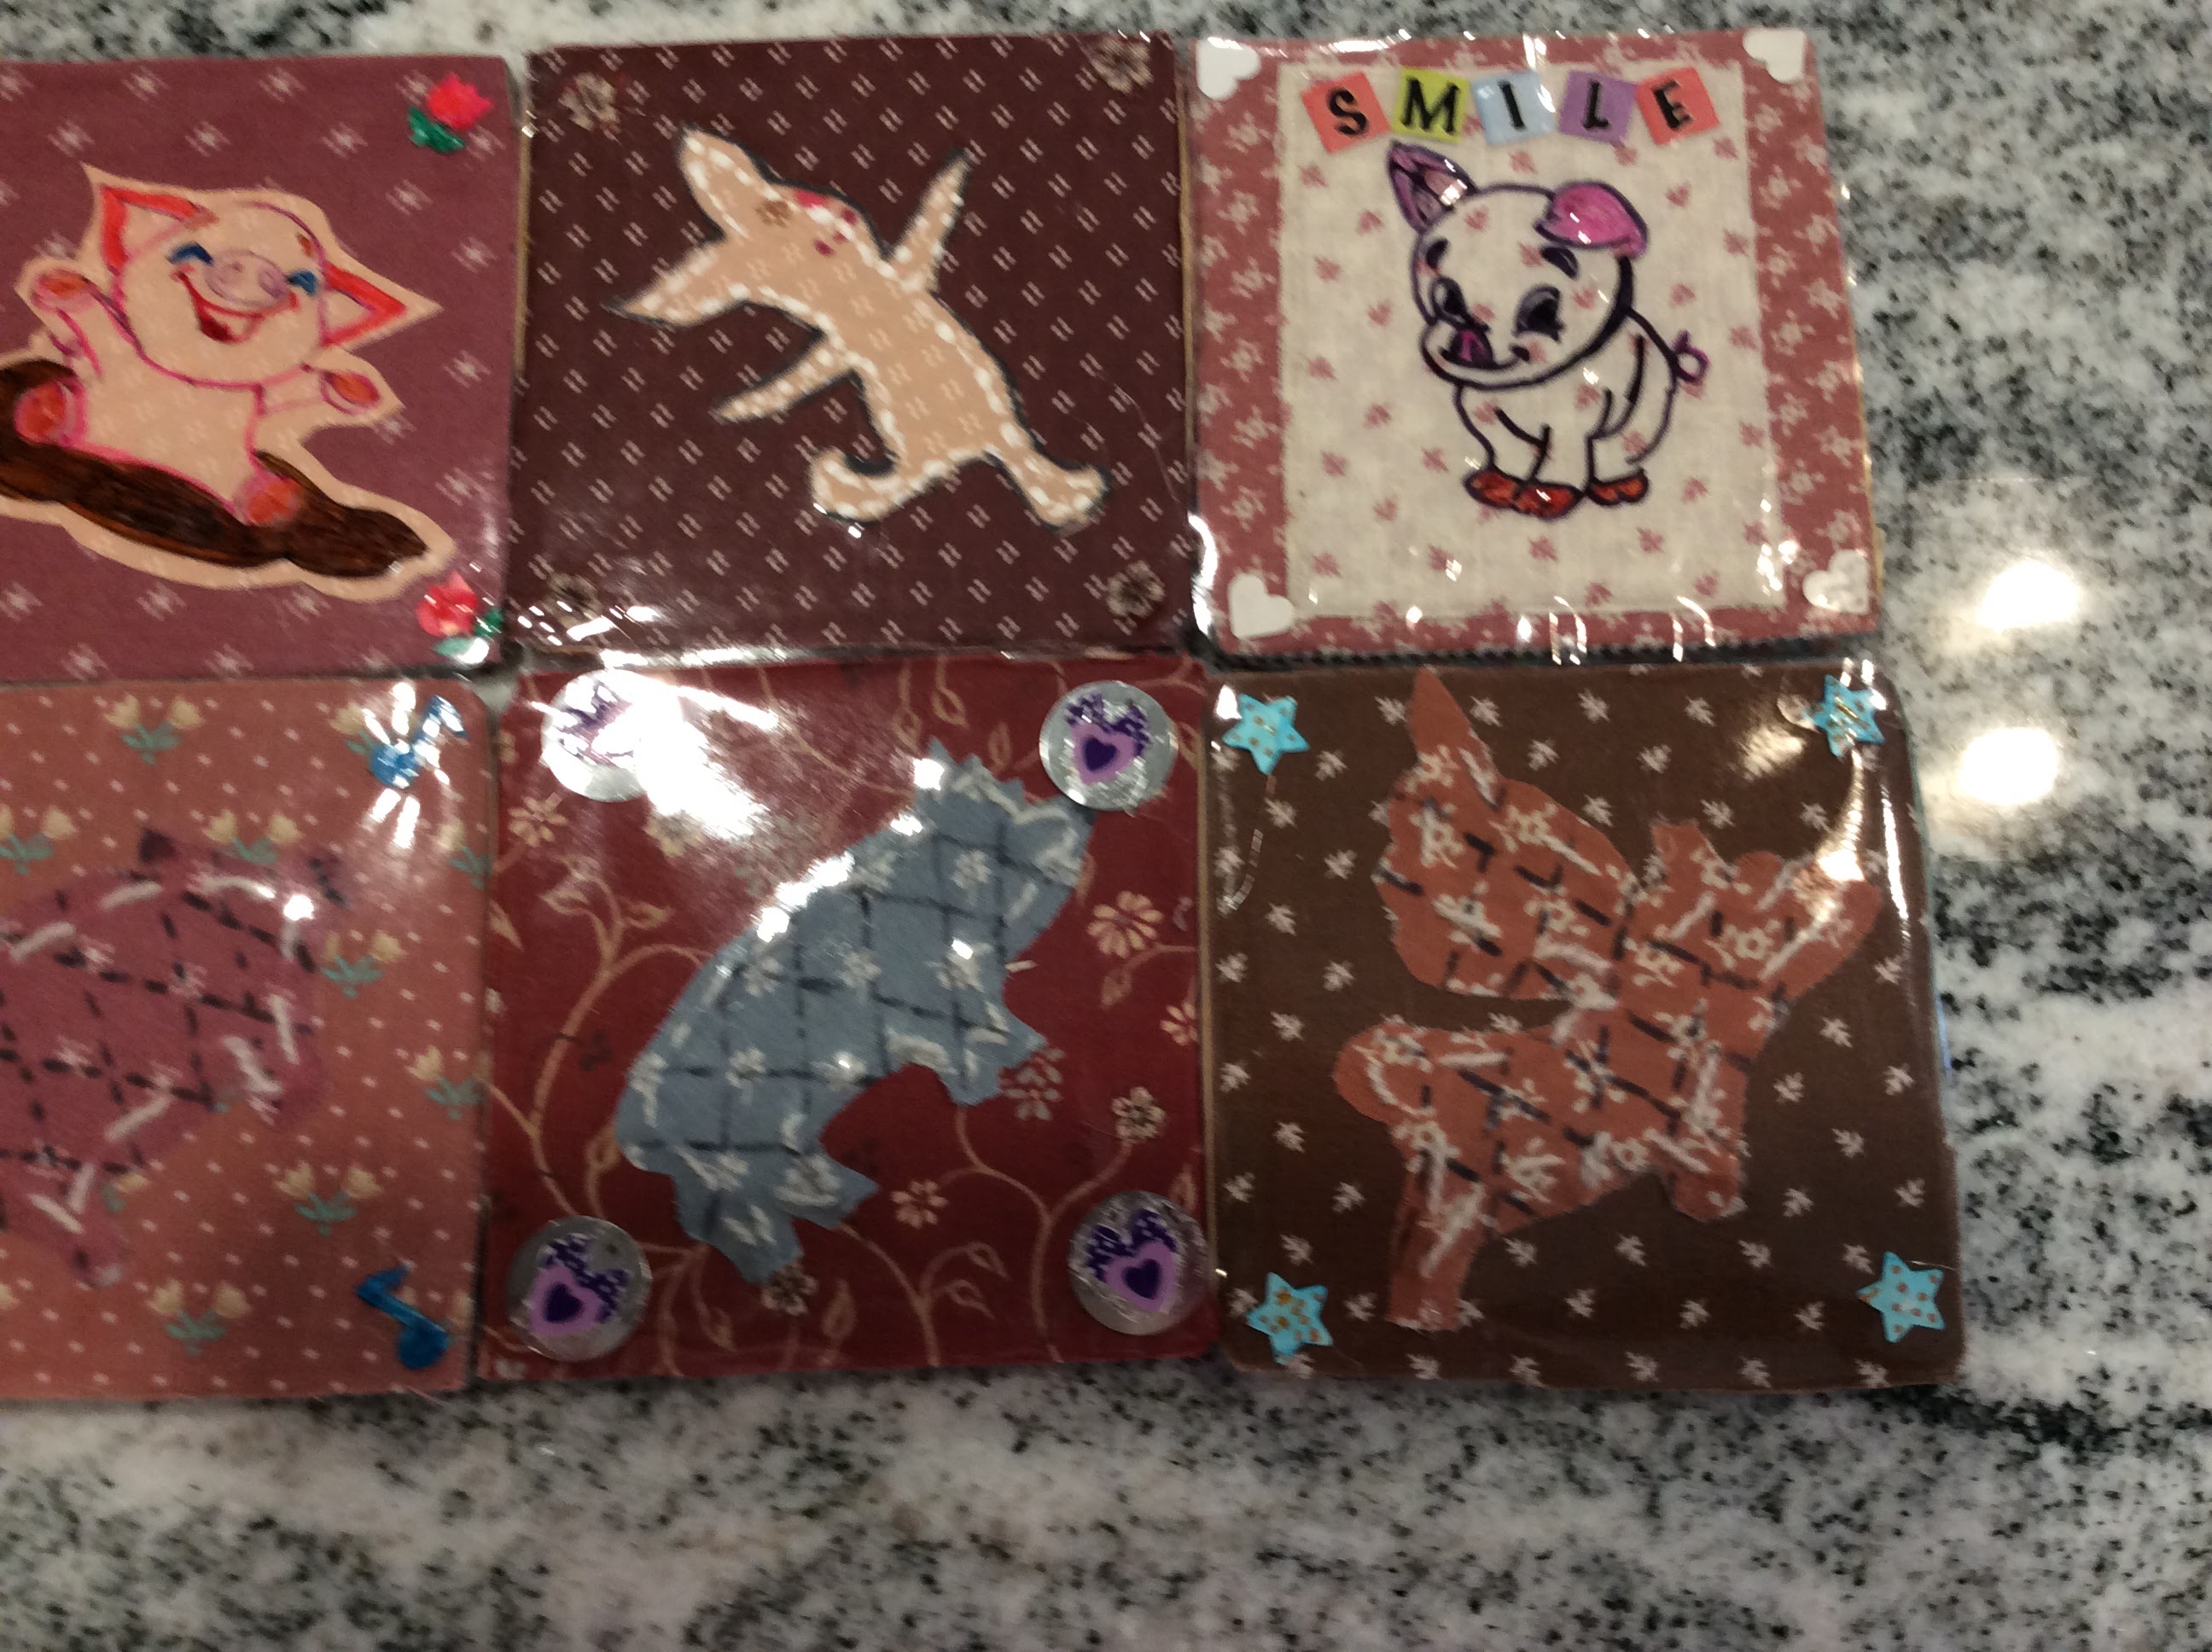
These are coasters as well. I made them as gifts. They were made from cardboard base, double sticky contact paper, material design patches from quilt. I drew the pictures to size and placed the animals on the material with the coasters. I was able to use the material because I have the clear plastic that covers the top and they can be wiped clean. I made this one as a gift for my daughter because she likes pigs :) 


This one was also for a gift and he likes animals. This one was made out of contact paper, topped with clear plastic. They can be wiped very easily. The plastic makes it so unique because the choices of material you can use are not limited due to the plastic coating over the coasters.


Saturday, May 6, 2023

More Examples of Handmade Coasters

More Hand Made Coasters      Typing whatever 

        These are symbols per say that can be made for quilts.  I decided to research meanings for them and incorporate them into coasters.  I gave this one for a gift.  It is made with paper, with clear protection placed on top.  


I placed the symbols with their meanings on the back of each picture. I hope this gives you inspiration. :)


Thursday, May 4, 2023

Handmade Coasters


These abstract paint coaters are made of sturdy cardboard, using a circle pattern to trace on items. 

The materials I used were:
  • Two white contact papers,
  • Sheets of clear plastic,
  • Acrylic paint in three different colors
  • A pointed stick to use after you blob all color paints on the contact papers 
  • Two pieces of contact paper.
  • double sticky tape (or glue if sticky tape is too expensive/unavailable in your area)
  • Utensils to add extra design details/textures (forks/pencils/etc)
  • Felt for the backing
  • A circular stencil the size of your coaster for tracing.
    One contact paper is used to blob the paint on where you want. Another contact paper is placed upside down and pressed easily against the first piece, which helps them be similar in design. 

    Once pressed, spread apart the two pieces of contact paper and you should have the design on both sheets of paper. You then can take a pointed stick and make lines wherever you see fit to add more details to your design. 

        There are many tools you can use to add to your paint for more and different designs. The choices are yours. Using forks, pencils, potato mashers (etc. You get the picture I hope l.o.l.)  Once done adding your final details, let dry. 

        Next, trace the circle pattern with a pen on your clear plastic and cut the circles out carefully. Place aside.  After the paint is dried on your white contact paper, you can take the circle pattern and trace the circles on the backside of each sheet of the contact paper. Once that is done, cut the circles out carefully.

        The flower stickers that you see on each coaster are used to attach the clear plastic circle to the painted circle. Taking a smaller piece of clear double sticky contact paper a bit smaller than the sticker is used to attach the clear plastic to the sticker at the top.  You can then attach it to the coaster with another piece of clear double plastic if needed. 

        Now grab your circle pattern cutout from earlier and some felt. Trace the circles on the felt to cut out and glue to the back of the coasters to protect whatever furniture you are placing them on. It makes a nice soft cushioning. While double sticky paper is more expensive and harder to find, ff you have enough you can use it to attach the felt. You can also use glue, but the double sticky is less messy but everyone might not have that option due to cost/accessibility. So if that is the case then just use glue. 

         The clear plastic is a new technique that I created to not be limited in what materials I can use when I am deciding what to make my coasters out of.  Due to the clear plastic, you have more options to use materials underneath that would otherwise be less water-safe. Due to the clear plastic over it I can just wipe the top with a damp cloth (with a top to bottom motion) when I want to clean it. Then dry with the same motion.   I would love if you decide to make this to see what you come up with.   At any rate Thank you for dropping by. :)      


    Lifting up the clear plastic so you can see how it protects the paint underneath.

    Here is an example of what the felt backing looks like also.

    Here are the other coaster variations that I created!